Prepare the file for the product you will sell
Use the provider's current template, then check the artwork at its final print size before you upload it.
What should I check before uploading POD artwork?
Quick answer
Use the provider's current template, then check the artwork at its final print size before you upload it.
Reviewed Jul 25, 2026
Start with the product template
A generic 3000 × 3000 PNG can still be wrong for the product in front of you. Download the current template for the exact product, print area, provider, and technique before you finish the artwork. It tells you the canvas, safe area, and file rules you need to hit.
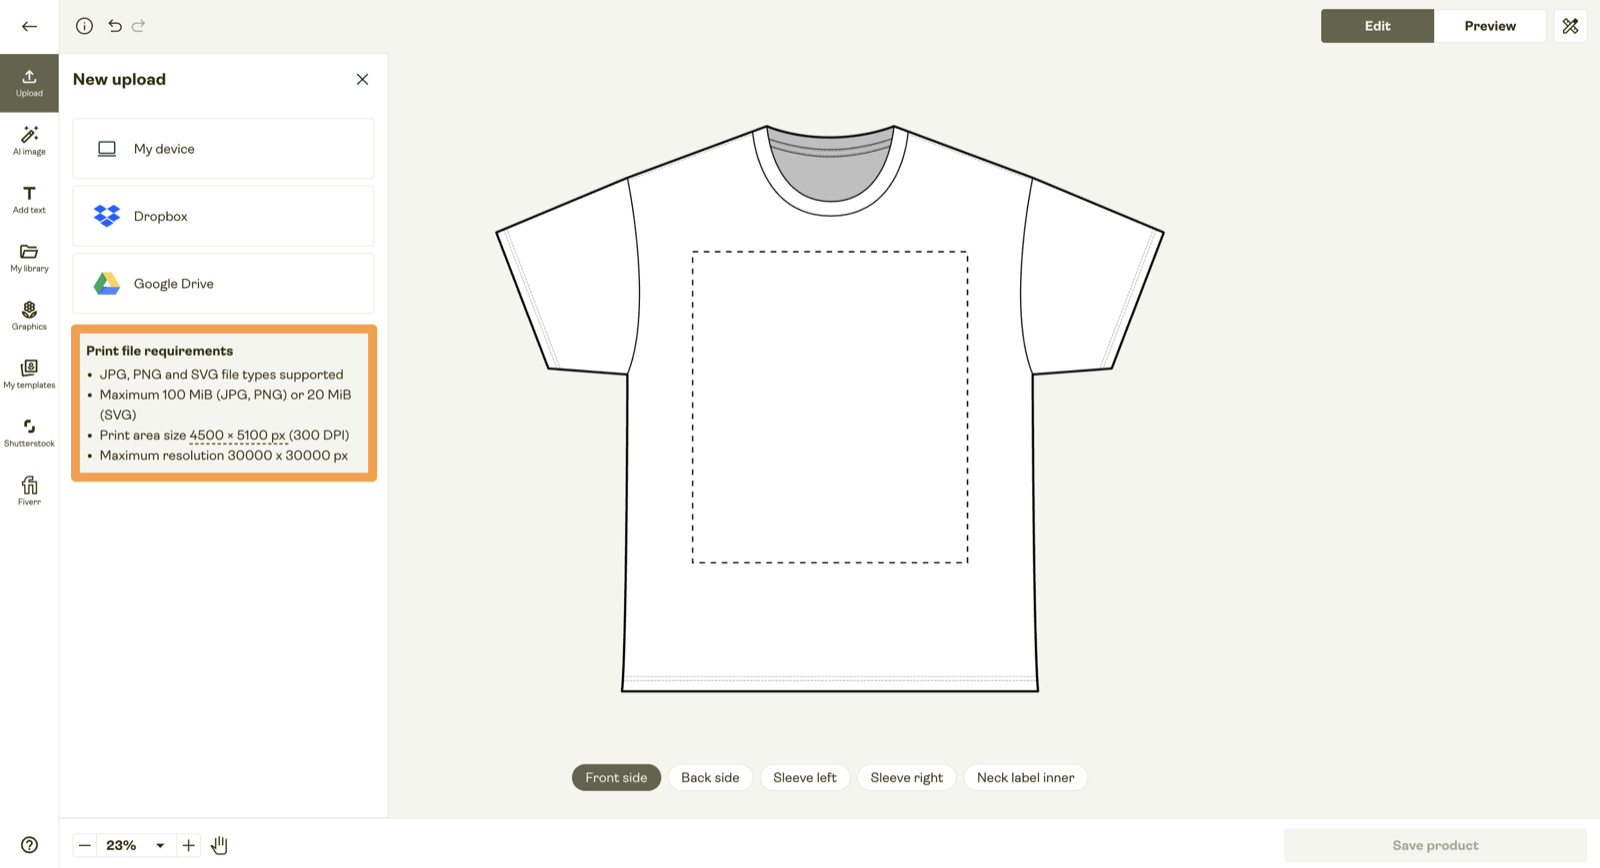
Check the artwork at its real size
Resolution depends on pixel dimensions and final print size. Enlarging a small image inside a larger canvas does not create detail. Open the artwork at the size it will actually print and look at the things that fail first: small text, thin lines, and rough edges.
- 1
Open the current template
Check the canvas, print area, safe area, and file requirements against the exact product and provider.
- 2
Inspect the small details
View the artwork at final print size. Make sure text remains readable, thin lines survive, and edges do not look soft or jagged.
- 3
Export and reopen it
Use a supported format, make the background or transparency intentional, and reopen the exported file before uploading it.
- Canvas matches the current template
- Enough pixels for the final print size
- Accepted file format
- Background and transparency are intentional
- Important artwork stays inside the safe area
- Fonts and linked assets are handled correctly
Use a sample for the final check
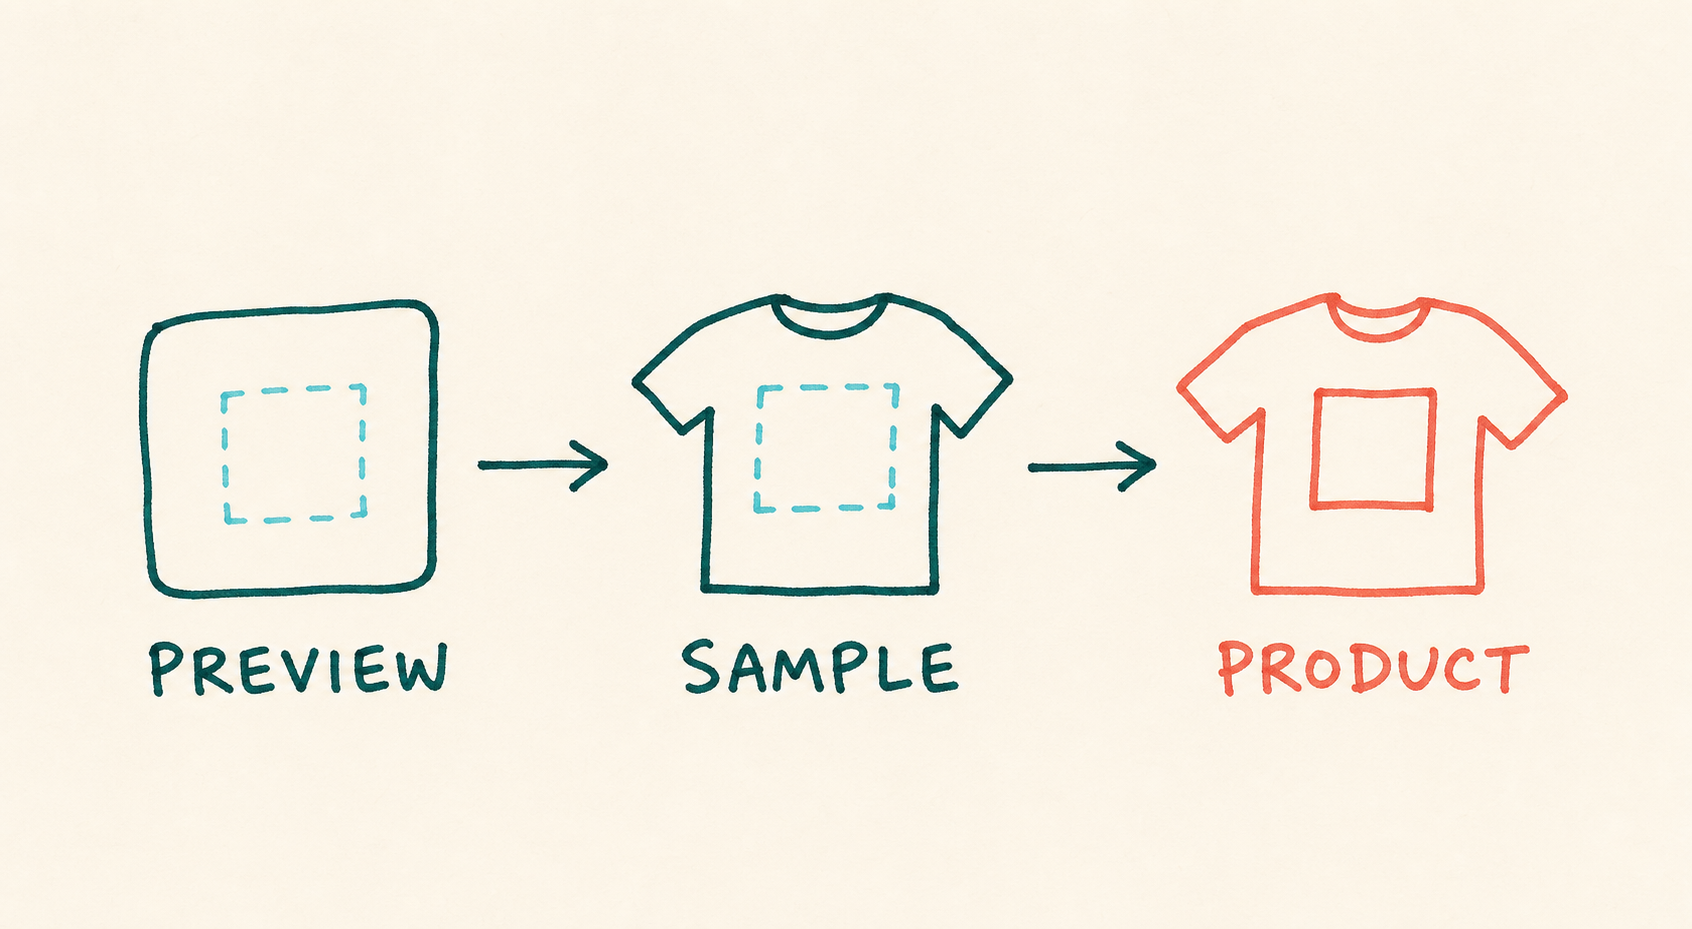
Screens emit light; printed materials reflect it. Fabric, ink, coating, printer calibration, and technique all affect the result. A provider preview is a placement check. A physical sample is the final check for color, scale, feel, and whether you are comfortable sending this exact product to a customer.
Sources used for this guide
Check the linked source before acting on time-sensitive fees, policies, availability, or production claims.