
How to sell with Printify: make one product first
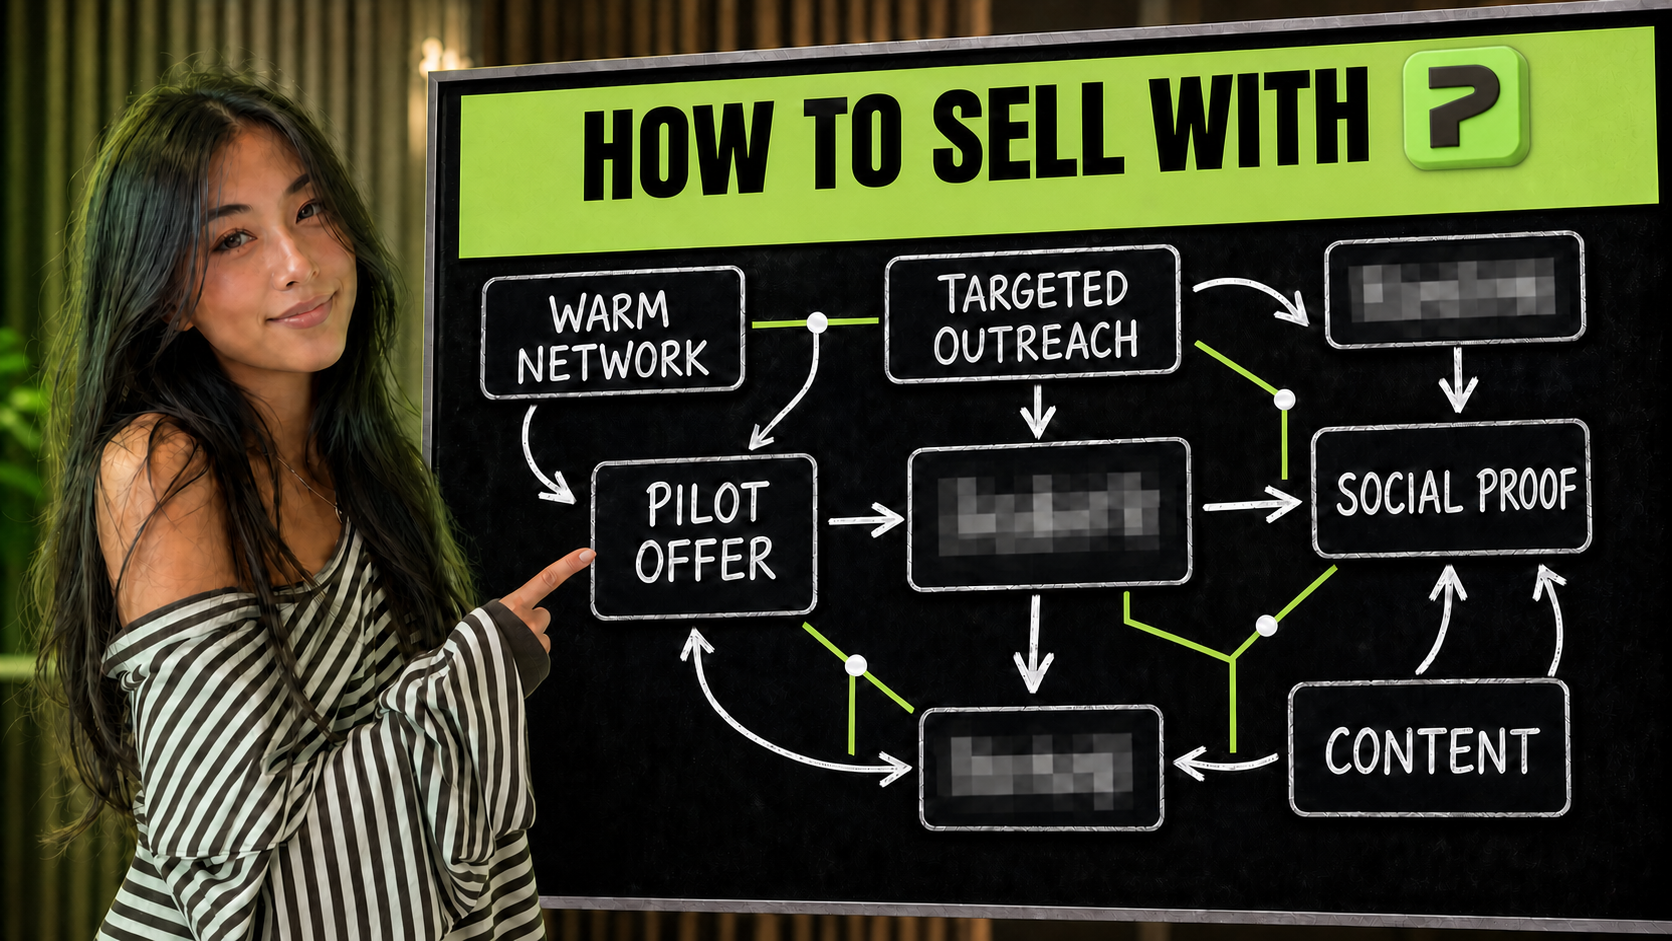
Printify gives you hundreds of product and provider combinations. Ignore most of them. Start with one product, one provider and one store.
Checked July 25, 2026 by POD Starter
Volatile-fact review due
Fees, integrations, locations, or policies may have changed since the displayed check date. Open the linked official sources before acting.
Before you make anything
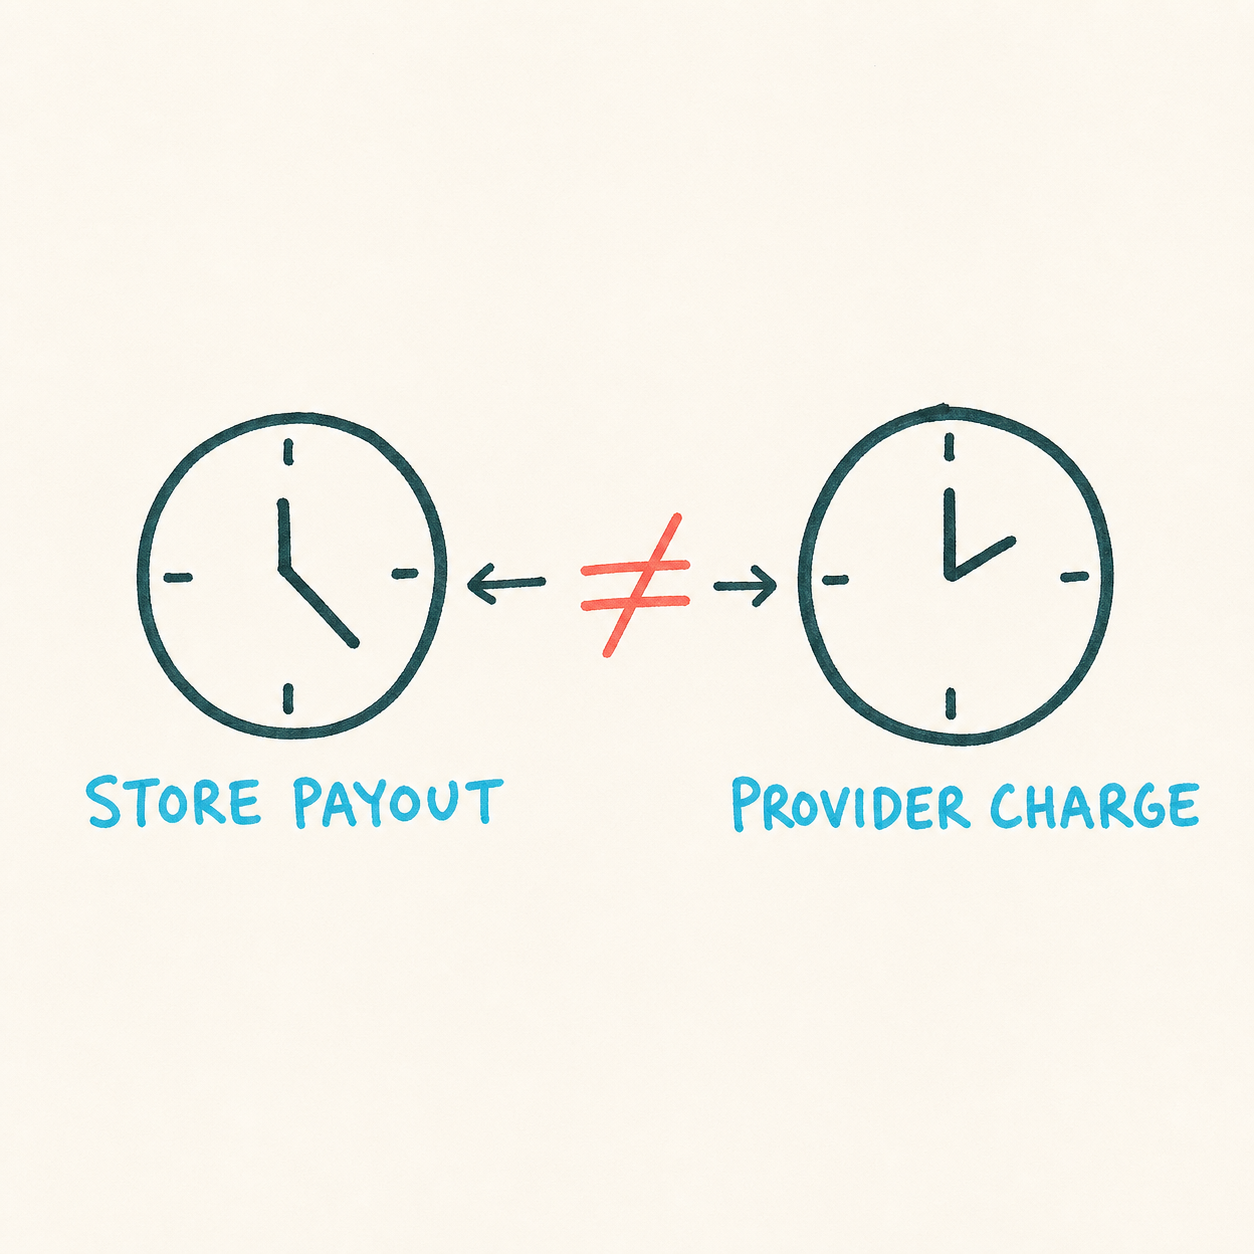
Your store and Printify handle different parts of the sale. The customer pays your store. Printify charges your saved payment method for production and shipping, then the print provider sends the order.
The two payments do not follow the same clock. Keep enough money available to cover the Printify charge even if your store payout has not arrived.
One order, two payments
- 1
Customer pays your store
Etsy, Shopify or another sales channel handles checkout.
- 2
Printify charges you
Your saved payment method covers fulfillment.
- 3
The provider ships
The provider attached to the listing makes the product.
Sources for this section
Build one product
- 1
Choose the product
Pick the blank, color range, print method and country you want to sell in. Do not add a second product yet.
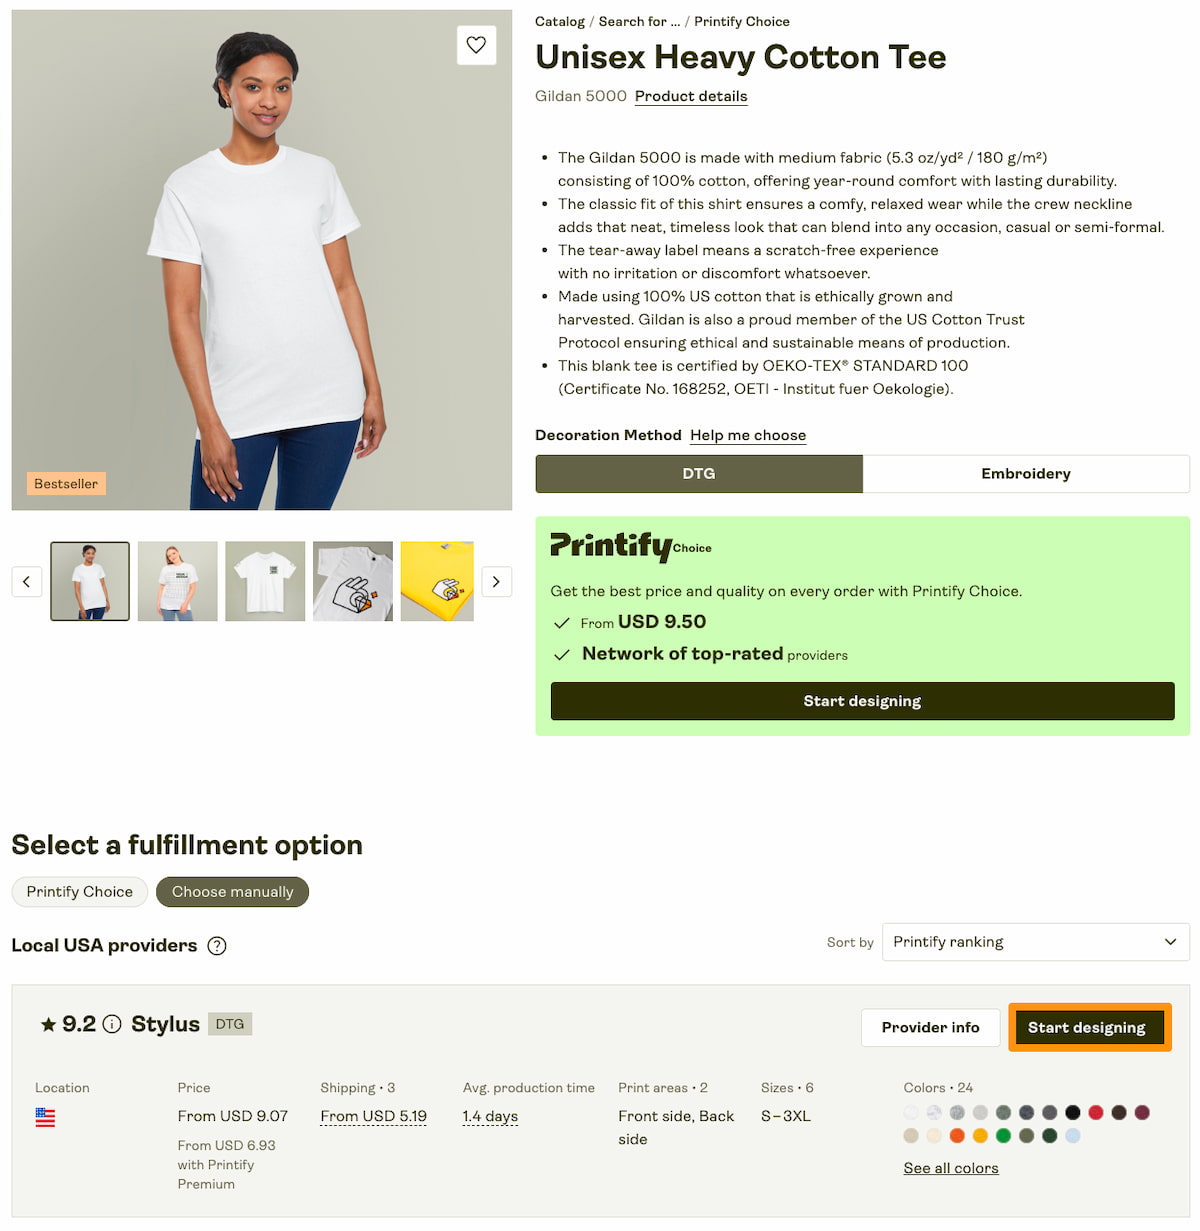
Choose the product first, then compare providers for that exact item. Screenshot from Printify (opens in a new tab) - 2
Pick the print provider
Compare the product price and shipping together. Check that the provider stocks the colors and sizes you plan to sell and ships from a sensible region for your first customers.
- 3
Upload the artwork
Use the live print area. Keep important details inside it and check the resolution warning before you move on.
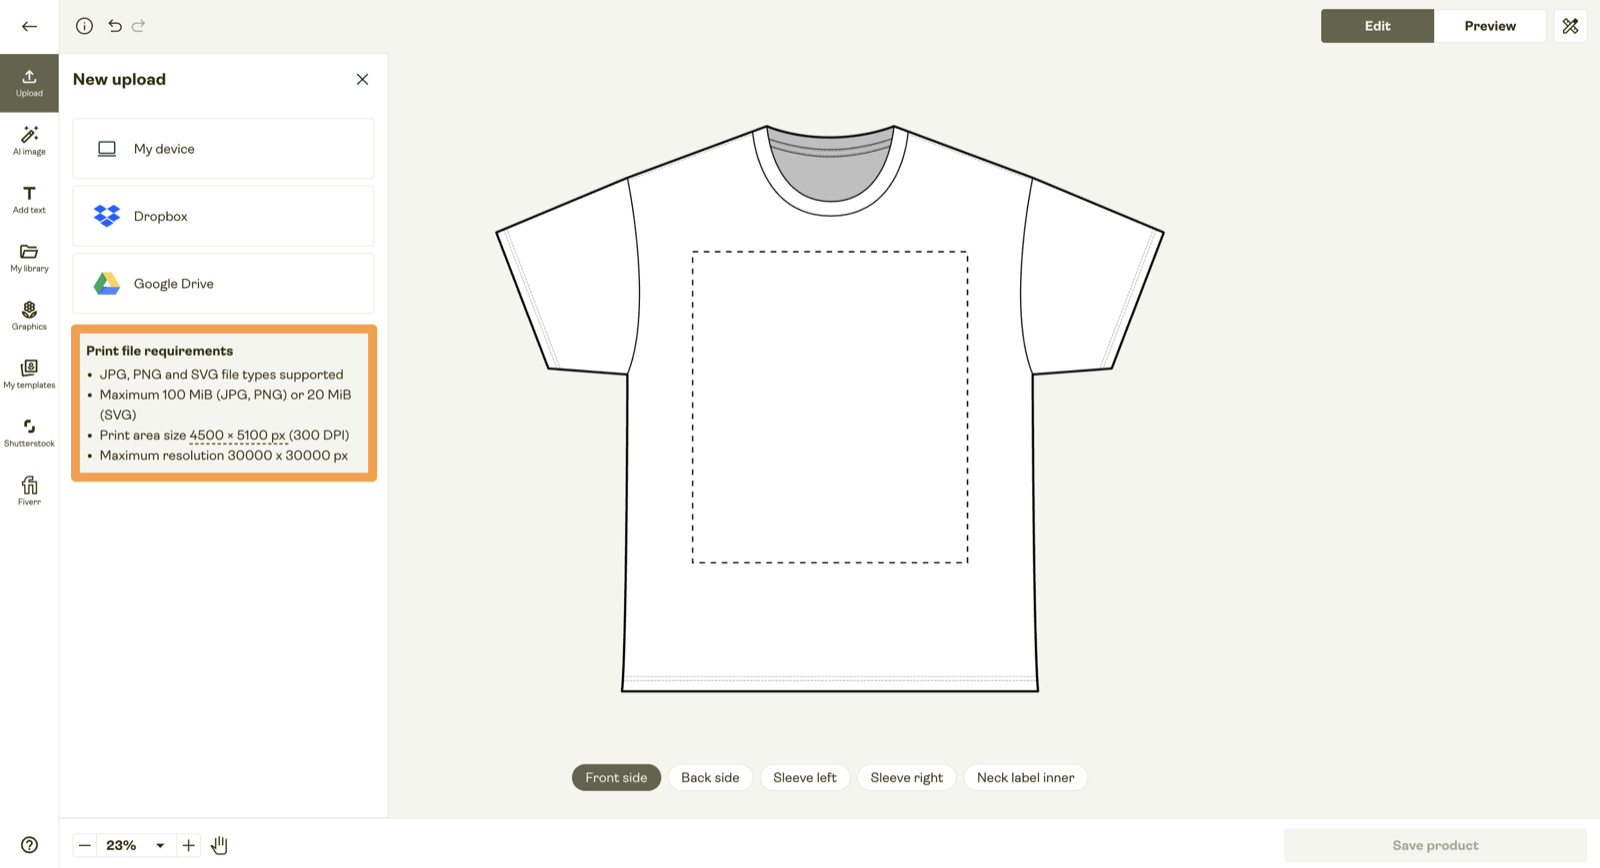
The Product Creator shows the printable area and the file requirements beside the product. Screenshot from Printify (opens in a new tab) - 4
Preview every color
A design that works on a black shirt may disappear on white. Disable weak combinations instead of publishing every available variant.
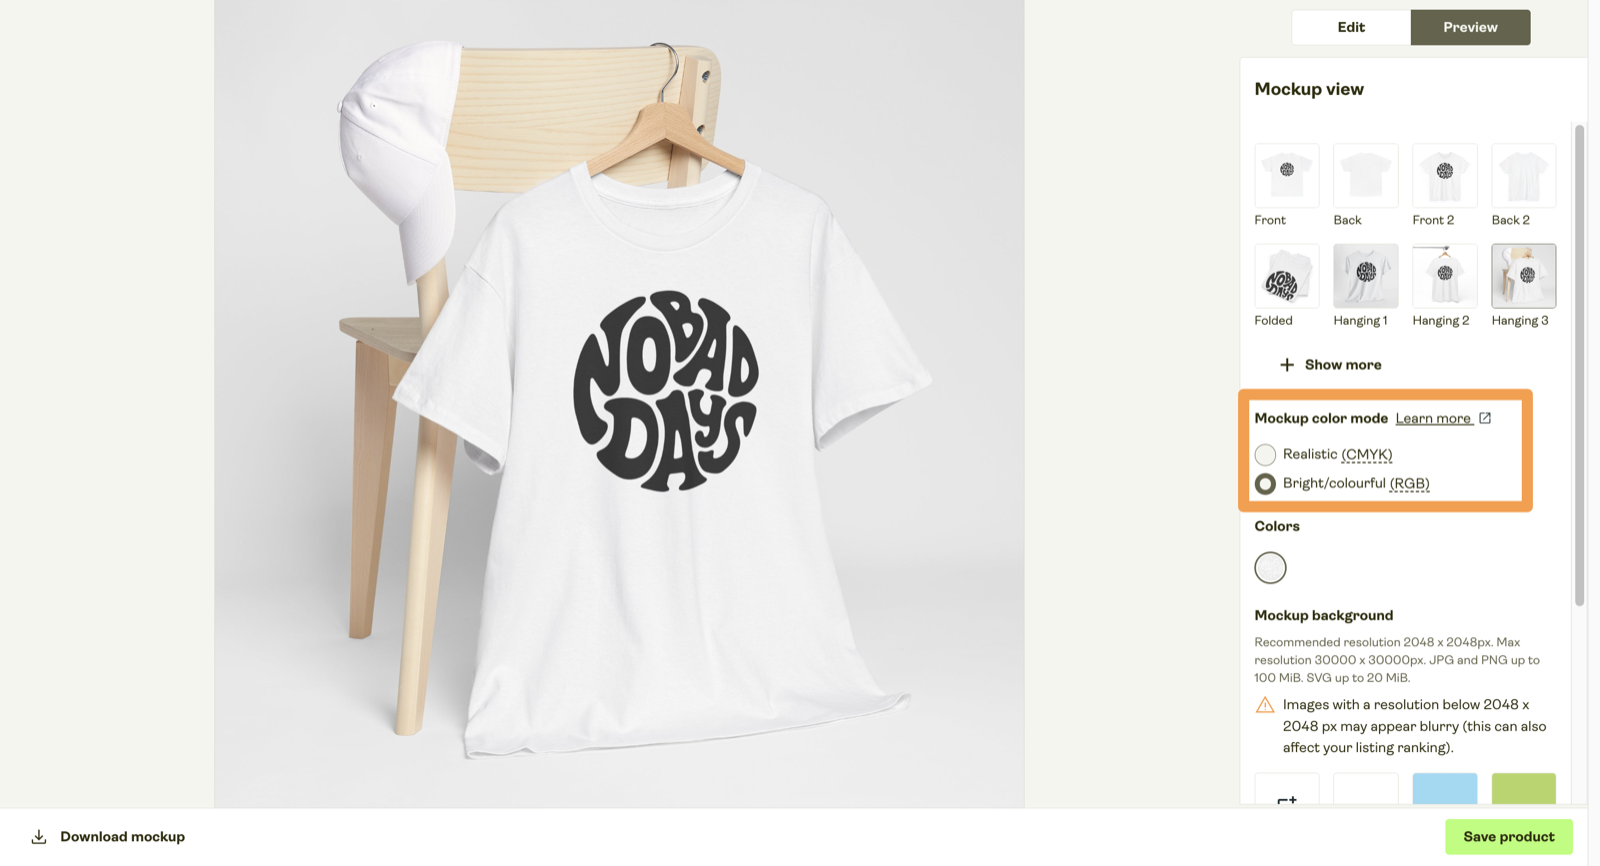
Use Preview to catch low contrast, bad placement and variants you should remove. Screenshot from Printify (opens in a new tab)
Sources for this section
Connect the store and publish
- 1
Connect one sales channel
Open Manage my stores, choose the channel and follow its connection flow. Finish the store’s payment, shipping, returns and production-partner settings before publishing.
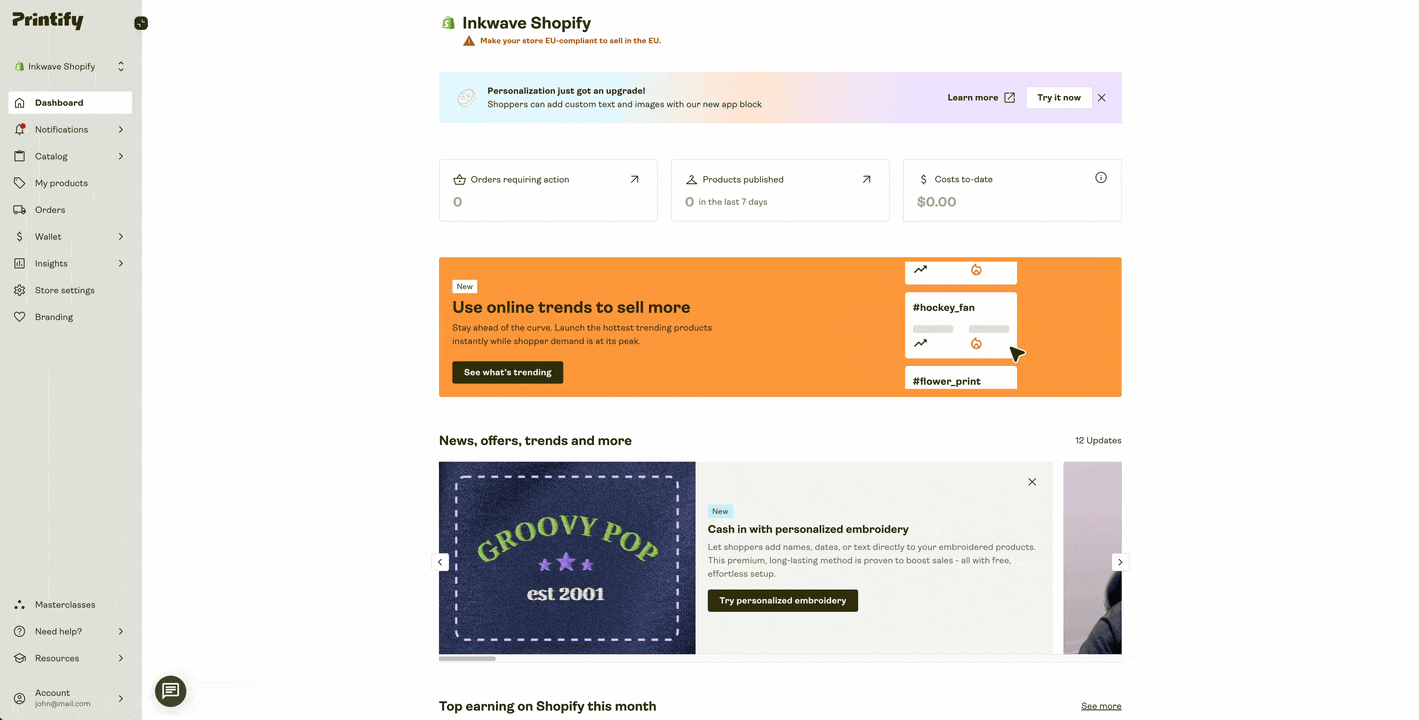
Shopify is shown here. Etsy, WooCommerce and the other integrations use their own connection flow. Screenshot from Printify (opens in a new tab) - 2
Set a price that covers the whole order
Include the product, shipping, marketplace fees, discounts, tax and room for an occasional replacement. The blank’s base price is not your total cost.
- 3
Publish, then open the live listing
Check the images, variants, price, shipping promise and mobile checkout. Fix the live listing before you send anyone to it.
Order the exact product
- 1
Create a sample order
Order the same blank, provider, color and print file used in the listing. A cheaper substitute tests a different product.
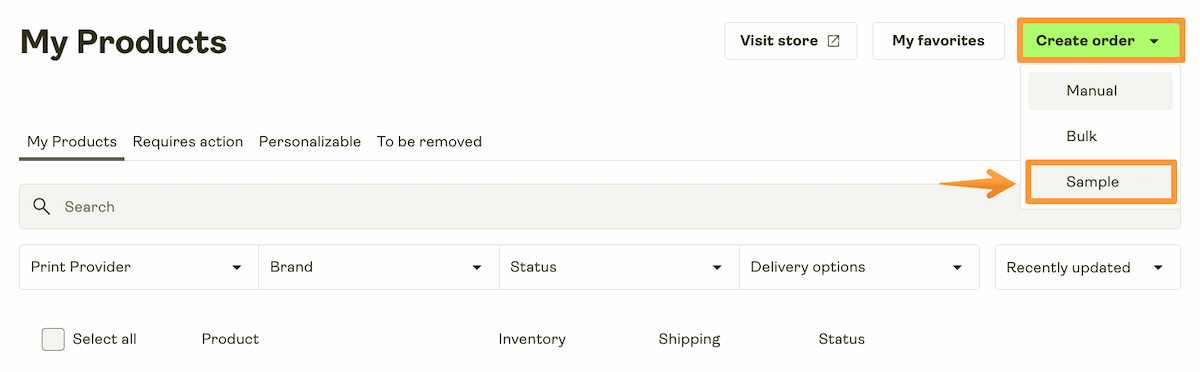
Open My Products or Orders, choose Create order, then select Sample. Screenshot from Printify (opens in a new tab) - 2
Inspect it like a customer
Check the material, print placement, color, detail, packaging, packing slip, return address and tracking messages.
- 3
Use it and wash it
A good arrival photo does not prove durability. Follow the care instructions and record what changes after a wash.
Sources for this section
Review the first orders before you scale
Keep the first few orders close to manual approval. Use them to confirm that the artwork, variant, address, provider charge and tracking match what you promised in the listing.
Only add another product after this workflow is boring. Record the total charge, delivery time, tracking handoff and support questions so you have a baseline for the next listing. That record tells you early in the process whether Printify is worth another upload.
If something breaks, pause the listing and change one variable at a time. Fix the product, provider, artwork or price, then place another controlled order. Changing everything together makes the result impossible to read.
- Compare the provider charge with the margin in your pricing sheet
- Read the delivery estimate and tracking messages from a buyer's view
- Record defects and support questions before adding a second product
Three mistakes to avoid
- Choosing by base price before checking shipping
- Publishing every color and size without previewing them
- Turning on automatic approval before the first clean orders
A few common questions
Is Printify free to start?
You can open an account and create products without a paid subscription. You still pay for the product, printing, shipping, tax and any extras on each order.
Does Printify pay me when a customer orders?
Usually not. Your connected store collects the customer’s payment. Printify separately charges your saved payment method for fulfillment. Printify Pop-Up Store uses a different model in eligible countries.
Should I use automatic order approval?
Leave approval on manual for the first few orders, especially for personalized products. Switch only after the workflow has produced clean orders and you know when changes become final.
How should I choose my first Printify product?
Choose a product with a clear buyer, a design you can preview confidently, and variants the selected provider actually stocks in your target country. Keep the first listing narrow enough to test properly.
Do I need to order a sample before selling?
You can publish without one, but the exact sample is the fastest way to check the blank, print placement, color, packaging and delivery experience before a customer receives it.
Sources and screenshot credits
Show 7 official sources
- Printify pricing(opens in a new tab)
- How Printify charges merchants(opens in a new tab)
- Using the Printify Product Creator(opens in a new tab)
- Connecting a Shopify store(opens in a new tab)
- Printify order approval settings(opens in a new tab)
- Ordering a Printify sample(opens in a new tab)
- Printify Pop-Up Store payouts(opens in a new tab)

Get updates for this guide.
Keep up to date with news and announcements from the print-on-demand industry.